Hiya, Crafters! Thanks for visiting! I hope everyone is having a good day today. Christmas and birthdays are hard to shop for sometimes and even though it seems like a cop out to get a gift card (I ask for them), at least the card could be really nice. I followed Dawn's tutorial to make this twisted gift card holder. You will be amazed at how easy this card is and how versatile it is.

Here's what you'll need:
Let's get started! Take your base cardstock and align it on your cutting mat. I lined up the top right point and the bottom left point right in the groove of my trimmer. Once those are are lined up score your cardstock.Here's what you'll need:
- Plain cardstock cut to 4 1/4 x 11" for the base.
- Designer paper cut to 4 x 10 1/2"
- Paper trimmer
- Scoring tools
- Stamping tools
- Bone folde

Next you will just fold over on your scrore line. Take your bone folder and burnish it over the crease to make it crisp. It should look something like this.

Then fold it in half and burnish the cardstock with your bone folder again. Your base card is completed. (For a really fast card, use double sided designer paper. And your are done. Yes! Done!)
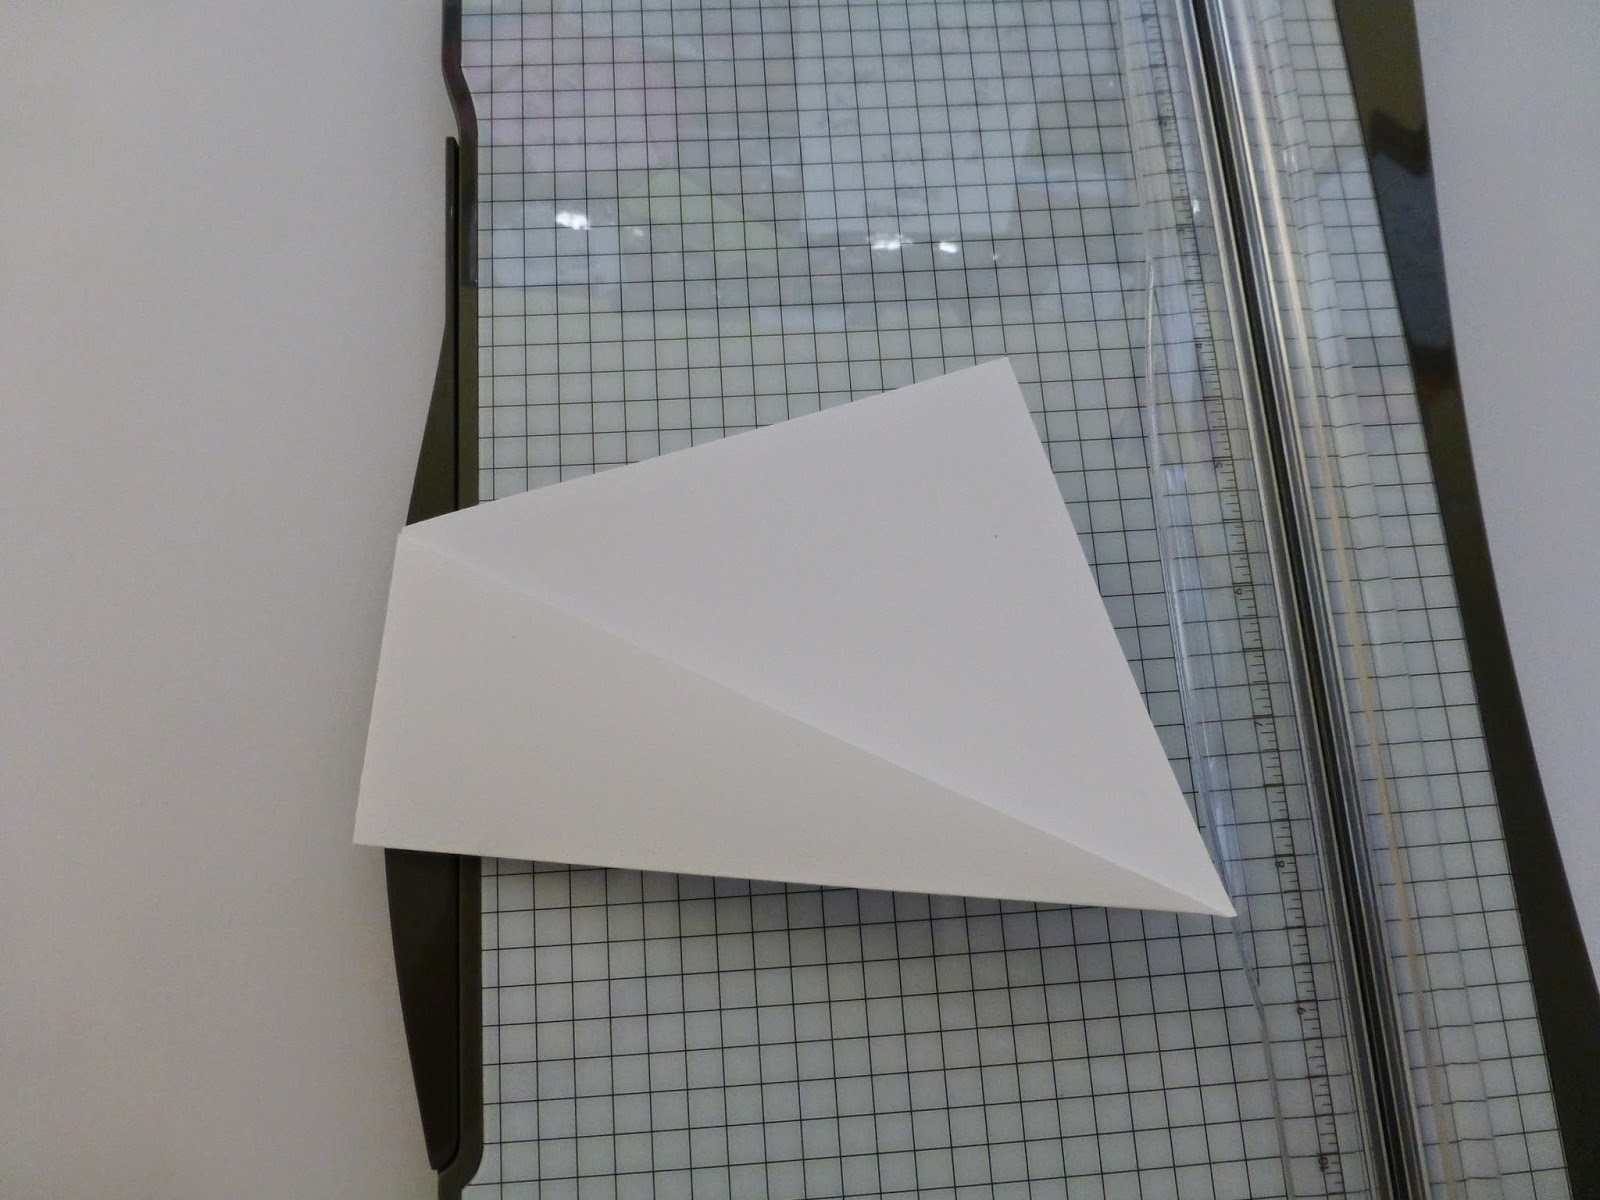
If you want to make it pop more because you are dramatic (Thanks, dad!) like me you can do what I did. I took my 4 x 10 1/2" piece of cardstock and followed the first steps again by aligning the top right point and the bottom left point in the cutting mat of my trimmer and this time I cut the paper.

Then I flipped the right piece over the left and turned it and pushed it up against the ridge on my trimmer. I made sure it was even point to point. There will be a crossing point of the paper that you will line up with the groove in your cutting mat and cut again.

Now you have your pieces to decorate your card. I just opened mine up and fitted the pieces in by the score lines.


The inside flap will be left blank. This is where you can write your message. You could even stamp something on the inside if you liked. The rest is left up to your creative mind on how to decorate. Here's what it looks with a gift card.
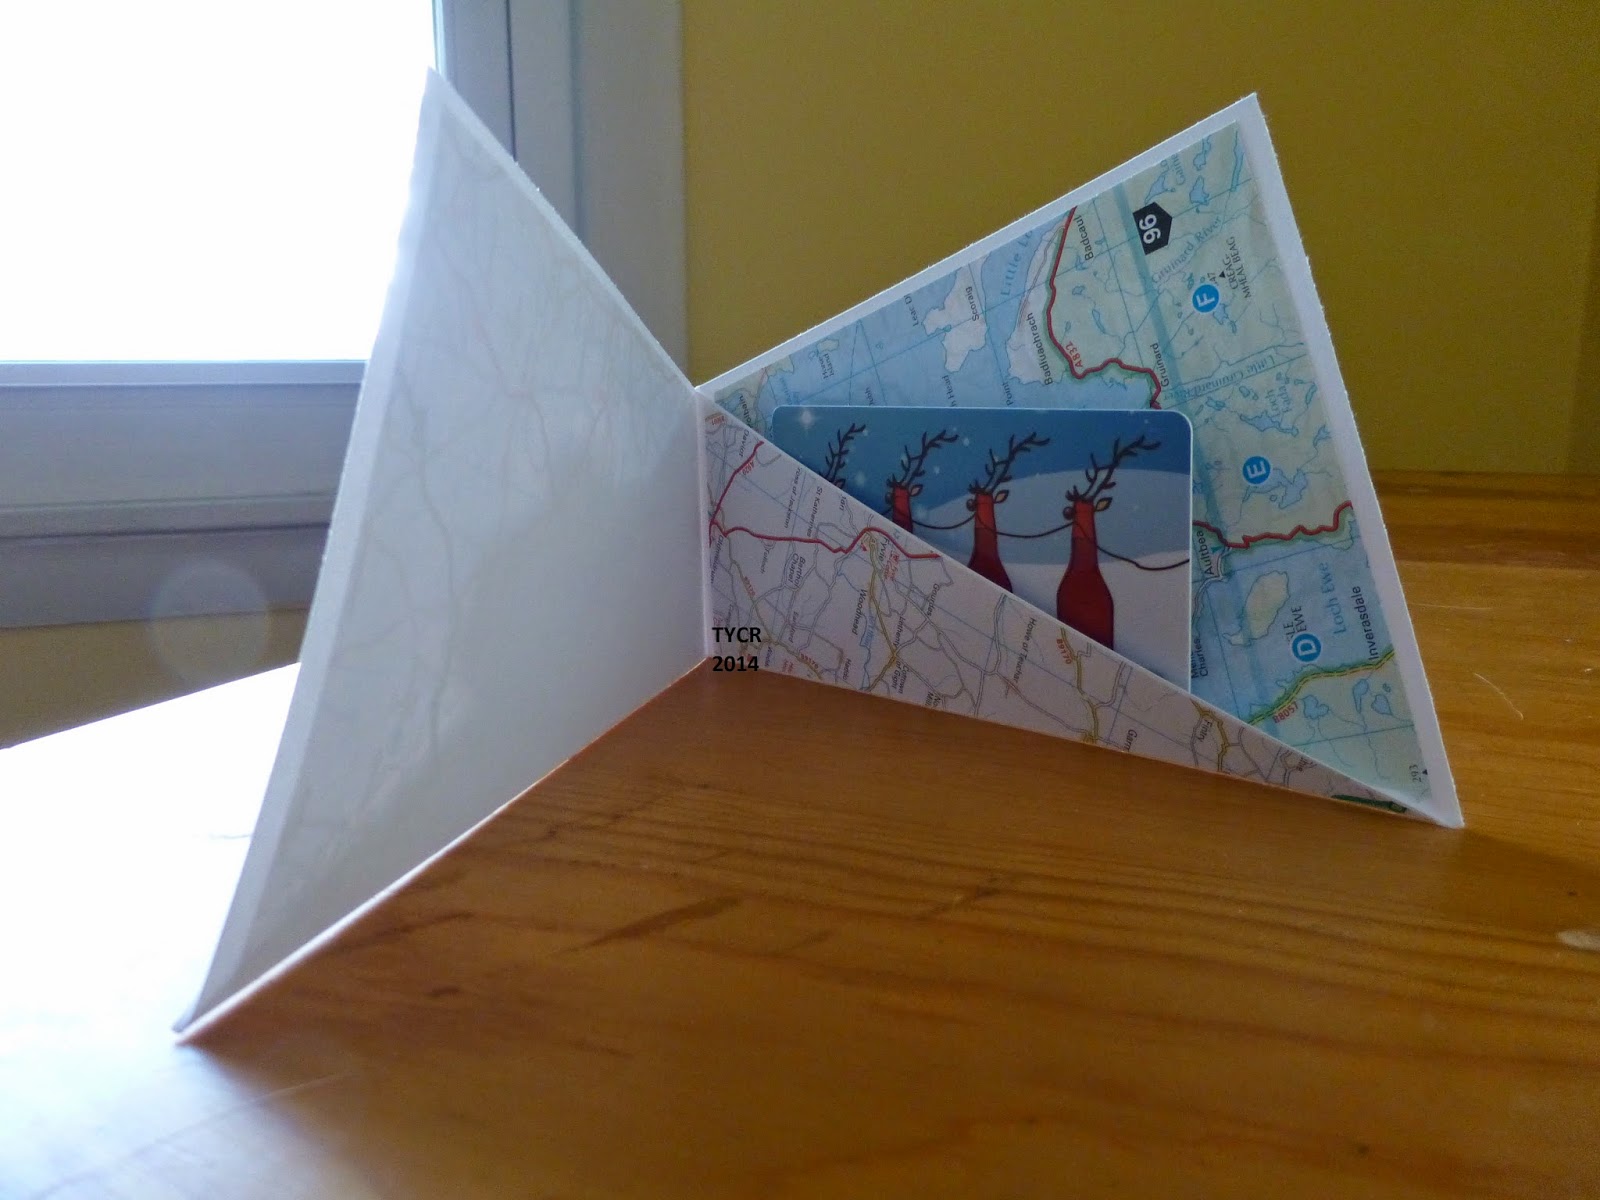
I used an atlas from England that I picked up on my honeymoon for the scrapbook. This will be perfect to put a gas card in to give to someone who is moving or going on a road trip.The versatile thing about this is you could make party invitations & put the details in the flap or even a bookmark. Please let me know what you think in the comments below. Thanks for popping by, Crafters! See ya soon!
Fab tutorial! Will definitely try this. Thanks :)
ReplyDeleteThank you for your lovely comment! I hope you enjoy making it! =)
Delete