Hiya, Crafters! Thanks for coming over. I hope everyone had a safe and fun 4th of July and a great start to their week. I found this tutorial on Splitcoaststampers.com and couldn't wait to try it out. It's more simple than it appears. Honestly, writing the tutorial is the hardest part. It's worth it for this card. It's pretty awesome.

Here's what you'll need:
Let's get started. On each piece of cardstock for the base of your card you will score longways at 1 1/2" and 4 1/2"Here's what you'll need:
- Scoring board
- Paper trimmer
- Bone folder
- Liquid glue
- (4) pieces of cardstock cut to 3 x 6" for the base of your card.
- (8) pieces of cardstock in coordinating colors cut to 2 3/4 x 2 3/4"
- (4) pieces of coordinating cardstock cut to 2 3/4 x 1 3/4"
- (16) pieces of coordinating cardstock cut to 1 1/4 x 1 1/4"
- Stamping tools

You will then turn them and score at 1 1/2 down to the intersecting line. You will do this on both ends to all of the card bases.

Next line up two pieces so that the score lines are horizontally and the other two so that the score line is vertically. Take some low tack tape, like washi tape or a post it note to hold the panels together. Take your liquid glue and spread it on the outermost squares on the panels. Use liquid glue instead of double sided tape so that it gives you time to align everything perfectly; otherwise the card may not fold or open properly. Align the one on top of the other and allow to dry.

Once the glue has dried you will want to make sure that the center opening line is vertical. Then on the right side fold the flap under the card and use your bone folder to burnish the creases. Repeat on the left side.

Fold back the top part to the score lines and burnish the crease. You will also do the same for the bottom as well.

Fold back again and burnish all score lines with your bone folder.


Now the card should open back up to the first front and you should be able to easily open through all 4 sides of this card. Let's move on to the panels Beginning at the first one.
Use two large squares and all of the rectangles.

Next panel will consist of 2 large squares and 8 of the small squares.
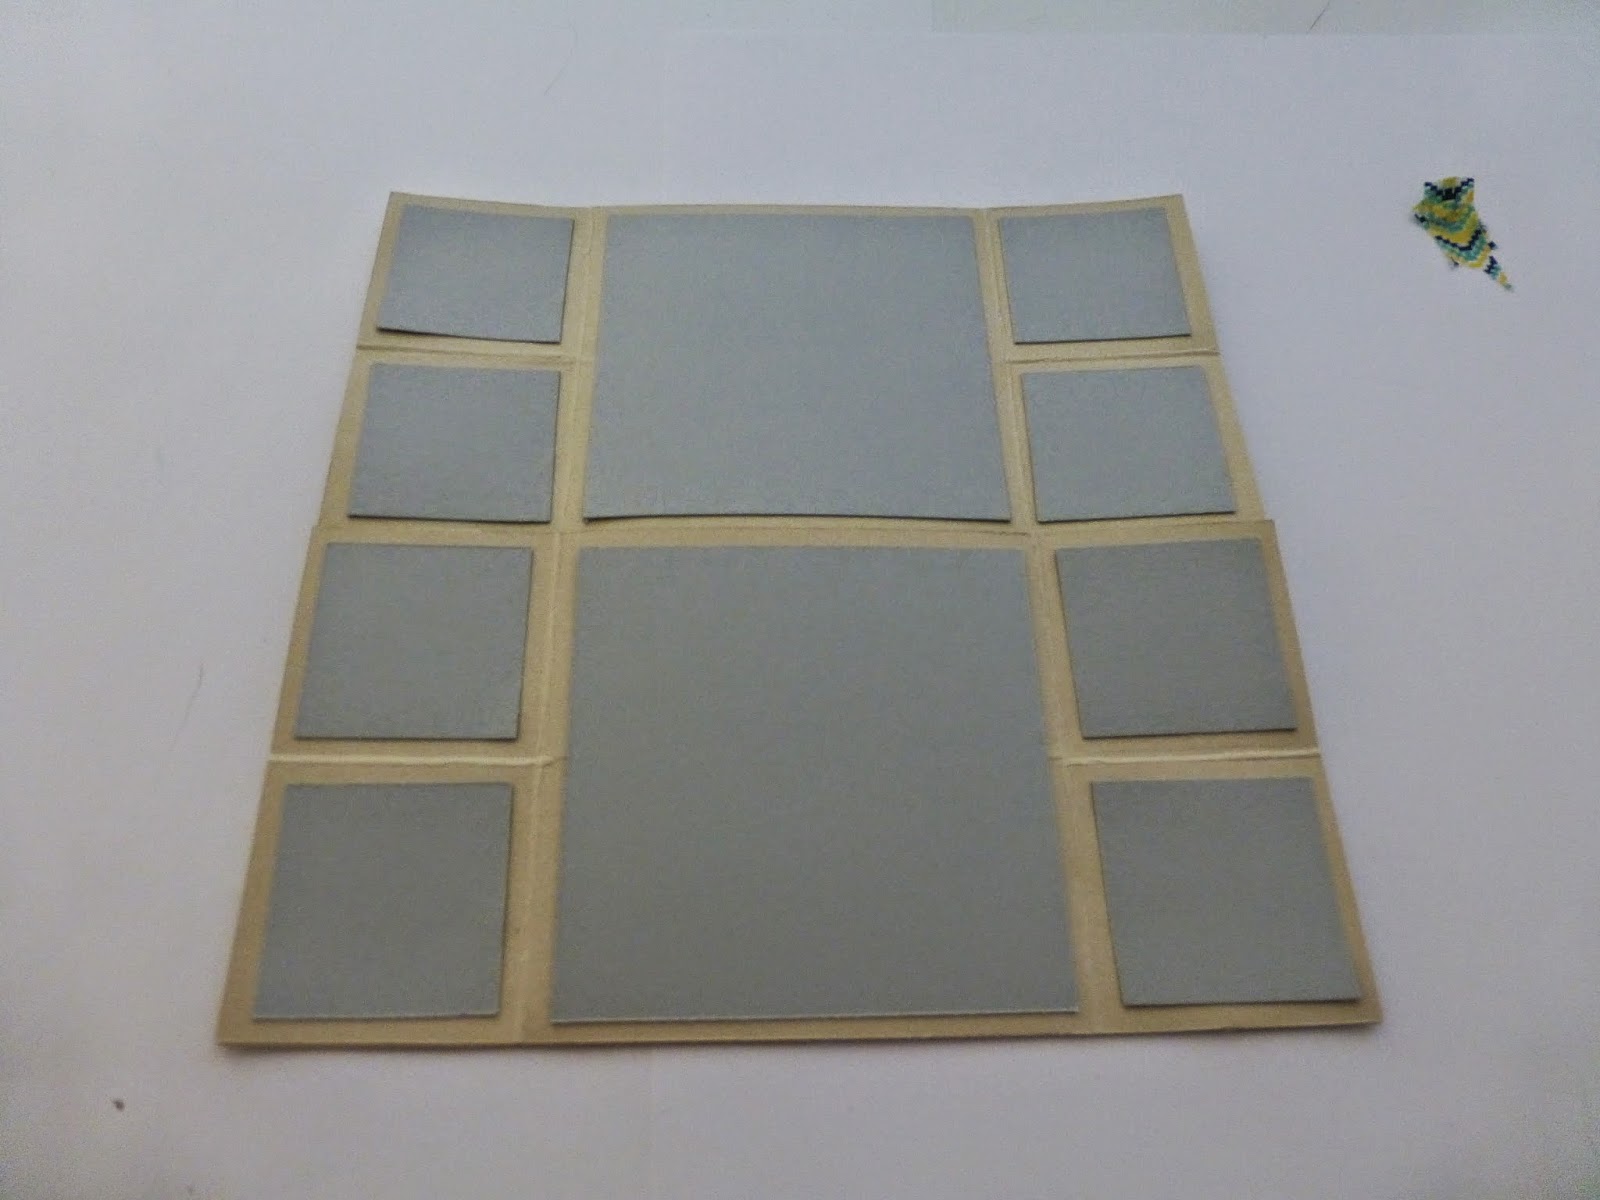
The third panel will use 2 large squares and only 4 small ones on the outermost squares.

On the fourth panel you will apply the last of your 2 large squares and the last of your 4 small squares. The 2 large squares act like rectangles on the third panel.


All that's left for you is to decorate. You may want to hold off on adhering the panels until your decorate especially if you want to emboss anything on here. That's it, you have a fun fold that you and whoever you give it to won't be able to stop opening thus being a Never-Ending card!


I hope you enjoyed the tutorial. If you think something could be explained better, let me know in the comments. I read each and every one I get and appreciate them! Thanks for popping by, Crafters. See ya soon!
No comments:
Post a Comment