Friday, August 29, 2014

Squashed Box Card Tutorial

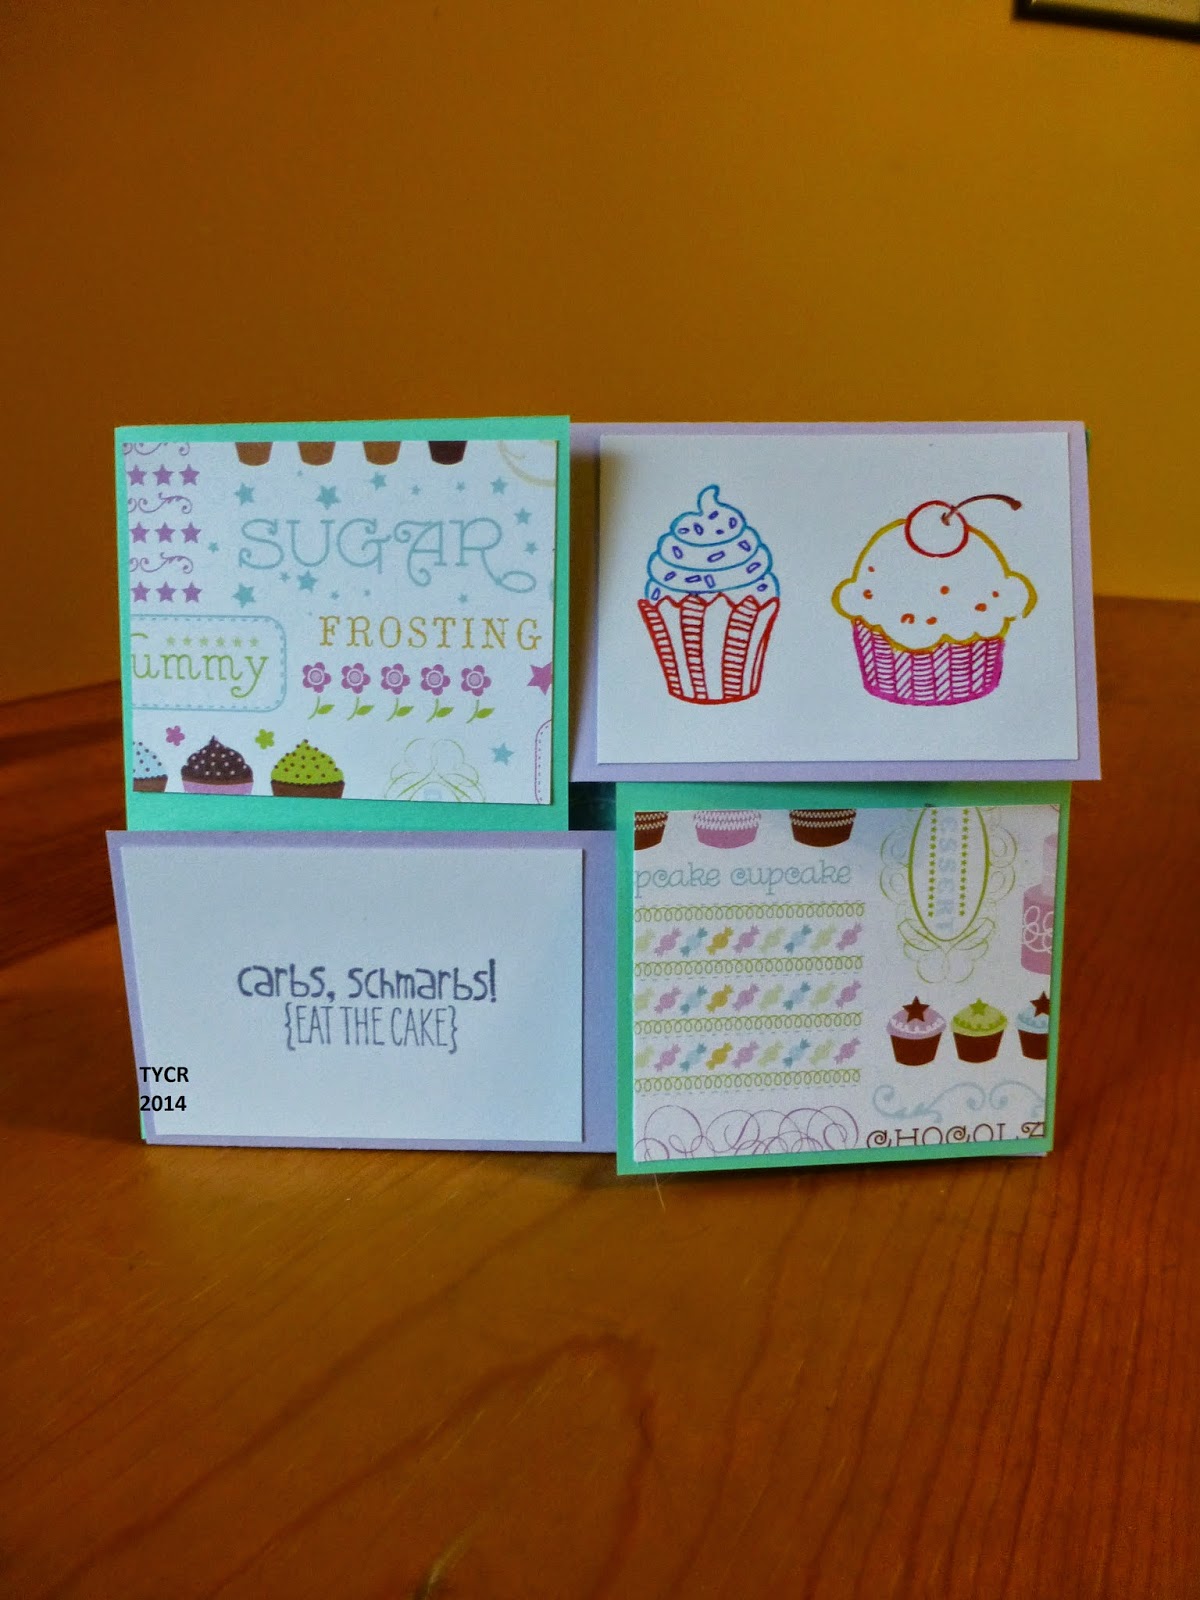
Hiya, Crafters! Happy Friday! Happy 3 day weekend too! Do any of my friends state side have plans for Labor Day? Today's tutorial was originally called a box card. Since there are so many of those about these days, I decided to call it a squash box card because that is what you do to it. You can watch the video here. It's a unique card that requires a lot of folding.


Here's what you'll need to make this card:

  • Patterned cardstock cut to 8 1/2 x 11" - the thinner the cardstock the easier it is to fold.
  • Scoring board and tool
  • Bone folder
  • Stamping tools needed to finish the card
Let's get started! On your scoring board place the 8 1/2" edge to the top and score at 2 1/8" and 6 3/8".

Turn your paper longways and score at 1 1/4" and 3 3/8".


Flip the paper over and score again at 1 1/4" and 3 3/8".


Next you will want to fold your long score lines both ways.

After that you are going to want to make certain that the pattern you want on the outside is facing up. Then you will fold your 2 1/8" score line up.


Again flip the paper over and fold the next score line down.


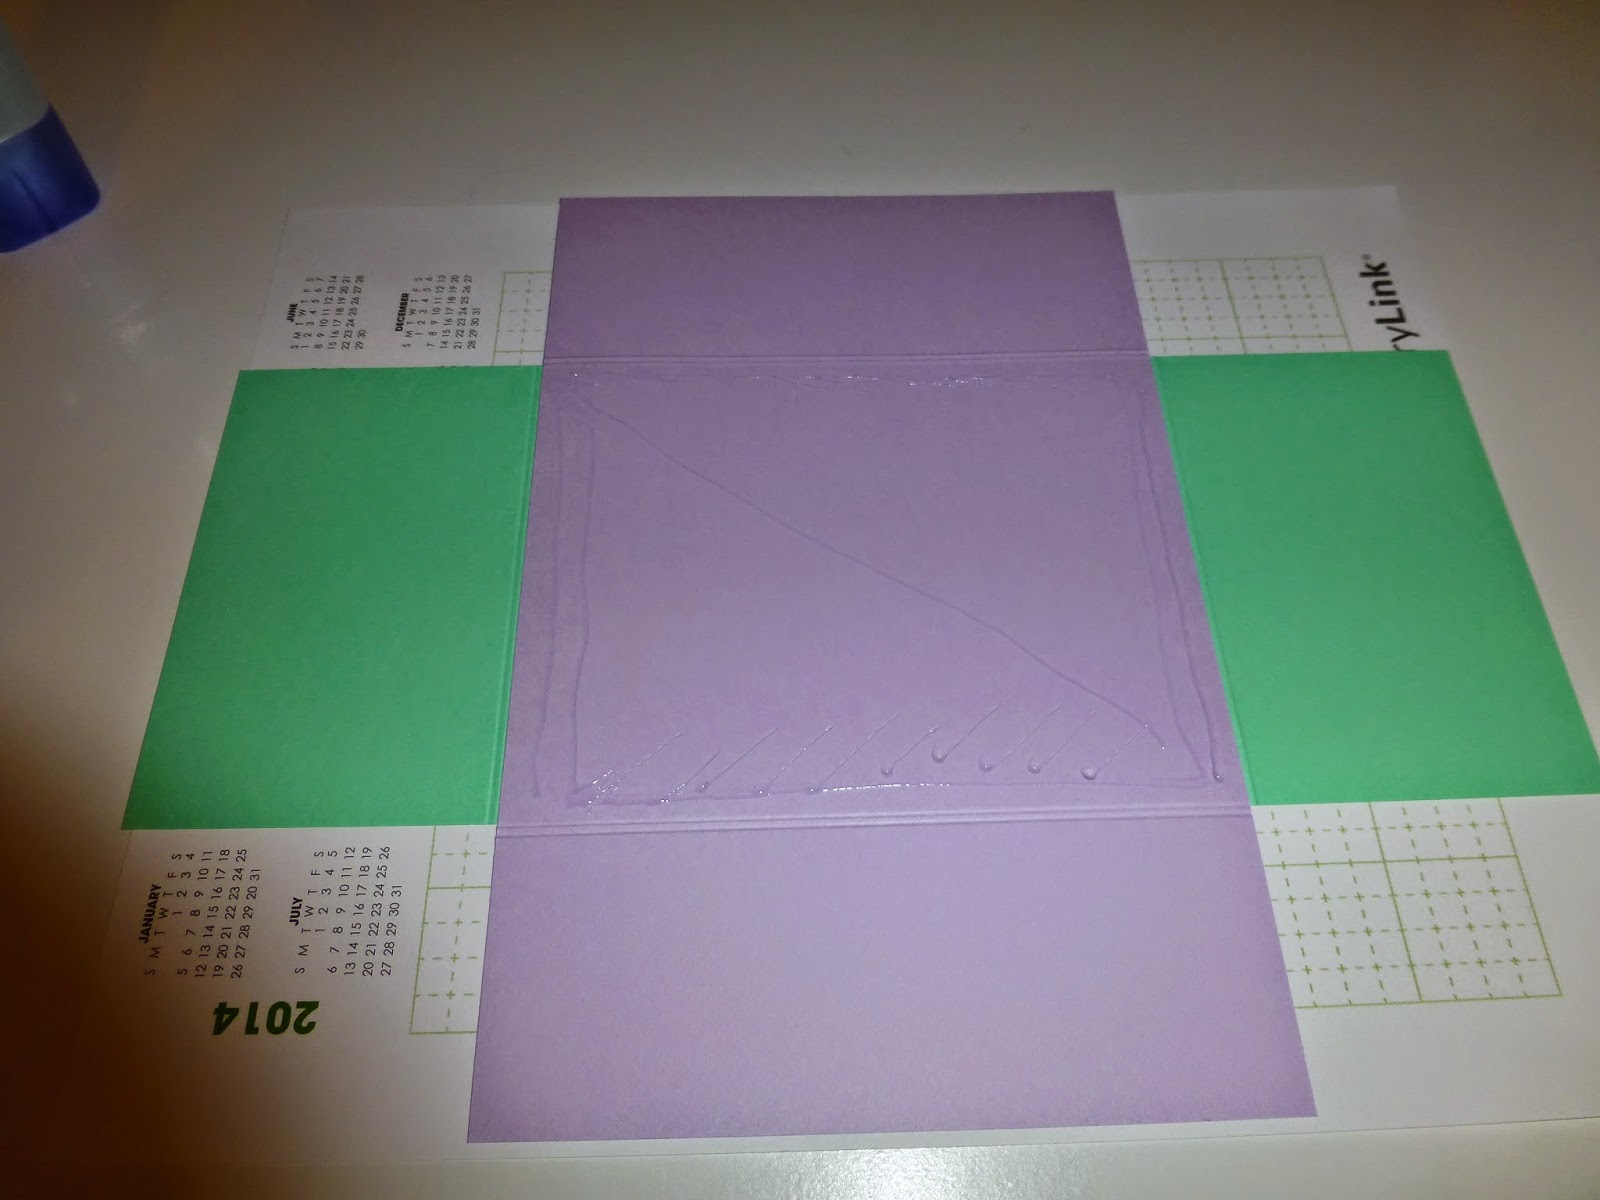
Repeat this on the other end. You'll end up with something that looks like this:

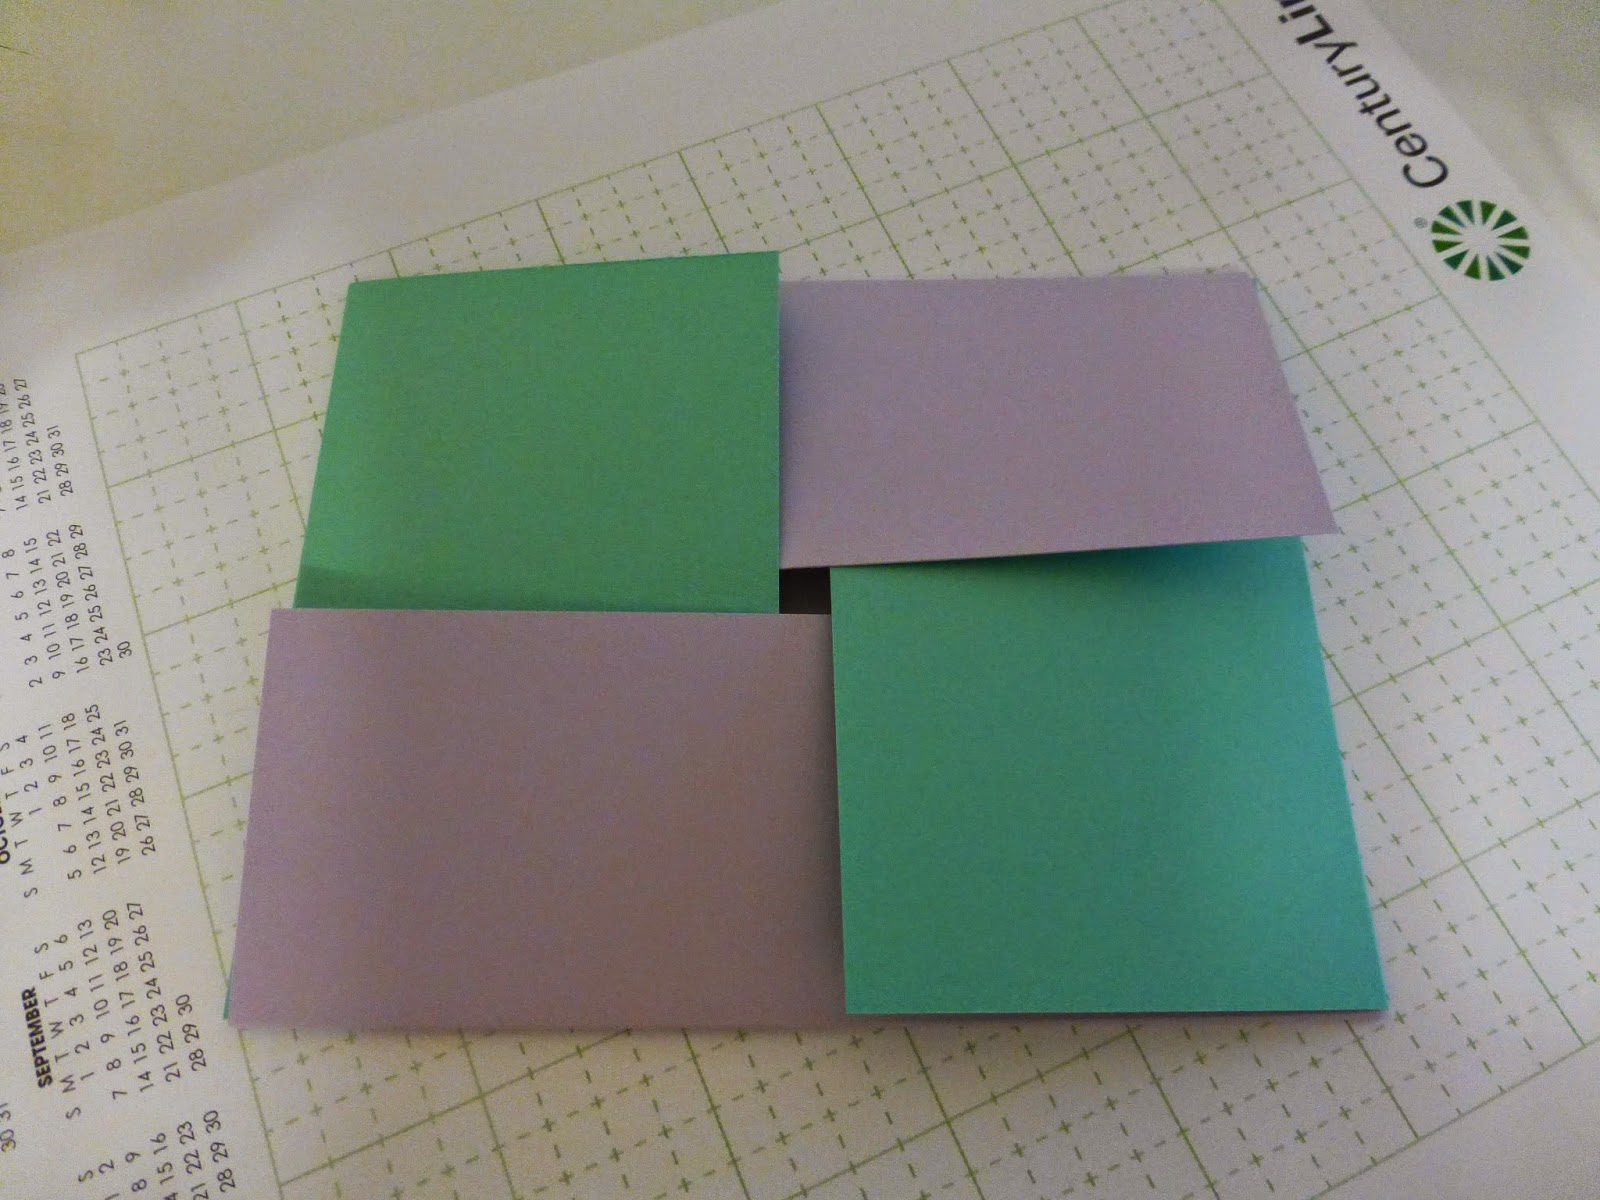
Use your bone folder to burnish all creases after this. Now you want to fold the bottom up and the then the top down. You'll have something like this:


Take the corner points and gently fold it backwards. Be careful as we don't want the paper to tear. Better to be crooked than torn.

Don't forget to burnish your creases. Once you have, unfold this completely. 

Next is optional, but I suggest doing it. You're going to cut a small triangle from the corners to the first score line so they don't show when the box is finally folded.


If you like, you can decorate the edges now _ and if you need to "sign" the bottom of your creation. I followed suit in the video and added a lacy edge. It's approximately 4 3/8" long, maybe a little shorter as I did need to trim it slightly.

Now pinch the corners together on each end and tuck behind the edge with the lace. Then fold that flap down backwards and repeat on the other side.


Next you will have to be gentle again and keep folding it down and burnishing creases. Depending how thick cardstock you used, the more it will fight you. You will be pretty much squashing the box down. Once you've done that, you'll have something that looks like this:


After that I used a belly band roughly 2" thick and 12" long. I just loosely wrapped it around and glued it down. It easily slips on and off, but also keeps my box closed.


As you can see, my cardstock fought me very much and it tore a little when I was squashing it down so be very gentle with yours. Inside you can place a gift card, a picture, or something else that can lay flat.

I hope you enjoyed today's tutorial and I hope you have a great holiday weekend! I should see you on Monday, but most definitely Tuesday! Thanks for popping by, Crafters. I'll see ya soon!

Thursday, August 28, 2014

Brick Wall Technique

Hiya, Crafters! How is everyone today? I have a very needy cat and a very wet day today. Doesn't look like I'll be getting in my walk. Today I am going to show you how to create this brick wall technique. I found the video tutorial here. It can take some time, but in the end I think it is worth it.


Here's what you'll need to make this card:
  • Cardstock cut to 4 1/4 x 8 1/2" and score at 4 1/4" for the base of your card
  • (2) Cardstock cut to 3 1/2 x 3 1/2" - you'll want to change the color of these pieces. I'll give the measurements for the other pieces later.
  • Double sided tape
  • Sponge
  • Ink
  • Paper trimmer
  • Stamping tools to finish the card
Let's get started! You'll want both pieces of 3 1/2 x 3 1/2" ready. The bottom piece you'll want something darker than your bricks layer. I went with burnt orange as my bottom and dark cream for the bricks. Stamp your image on the lighter piece. On your paper trimmer, feed your cardstock in with the top of the image pointing towards the cutting mat. 


You will then cut this into rows of 1/2" thick. Be certain to keep the image in the order in which you've cut it. You can lay it on your bottom layer to keep it in check, or not. It does not matter as long as you keep the cuts in order.


Once you've made all your 1/2" rows, it's time to make the bricks. Begin with your top row and from left to right start cutting at 1/2" and then every 1" interval. Your last piece will be an inch. Again, lay them out and keep them in order.

On your second row cutting left to right again, start at 1" and cut every 1" interval. Your last piece will be only a 1/2". This is so your bricks are staggered. 

Rinse and repeat. At the end of this, you'll have something that will look like this:


Now it's time to create your mortar! Sponge every brick edge in ink and replace the brick back in the same order. This helps a lot in case you use an intricate image.


Now it's time to take a few bricks out of the pattern. It doesn't matter which bricks you choose as long as you're happy with the end result. I did take a piece out of mine that had the tiniest bit of the image stamped on it. I didn't feel it detracted from the image.

Next we glue everything down! Start with your largest piece at an edge and glue it down. After that, you'll be able to butt against the glued down piece to keep your rows and image lined up straight.


Once you've completed that task, you should have something that looks like this:

You'll want to take this piece and layer it on a piece of paper measuring 3 5/8 x 3 5/8". Use any color you like. This is also when you will want to add ribbon. 
After that I layered that stack on a piece of cardstock, the same color under my bricks, that was cut to 4 1/8 x 4 1/8".

It's not a difficult technique, but it is time consuming. It's your turn to try it now! I hope you enjoyed today's technique. Thanks for popping by, Crafters! I'll see ya soon!

Wednesday, August 27, 2014

Quarter Fold Card Tutorial

Hiya, Crafters! Happy middle of the week! I hope everyone is having a good one. Today I am going to show you how to make this simple quarter fold card. It's like folding a packing box. I found the tutorial here. It's really fun and the possibilities for this card is endless. I was looking through my (numerous) paper packs and came across cupcakes. Inspiration hit me instead of the picture shown in the video. Which is funny because they are similar. I guess that's how inspiration works, huh?

Here's what you'll need to make this card:
  • Cardstock cut to 4 1/4 x 11" for the back.
  • Cardstock cut to 5 1/2 x 8 1/2" for the front.
  • Liquid Adhesive & double sided tape
  • Paper trimmer
  • Bone folder
  • Stamping tools needed to finish the card.
Let's get started! It's been recommended for the back and front pieces be lighter than the other piece for contrast. Let's start with the back of the card. Score your paper at 2 3/4", then you'll want to flip it over and score again at 2 3/4". I also recommend that while you're score your card to move it just outside the score line and score again so it fits around the other piece of cardstock.


Set that aside and take your front piece for scoring. This time we are going to score at 2 1/8". Again, you'll want to flip the card over and score at 2 1/8" again. Like the last time, score just outside your score lines for a better fit.


Now line up your cards with the back on the bottom and the front on top. Make sure they are lines up with the score lines. Take your liquid glue and squiggle some on the middle and ease it into place. Liquid glue gives you some play where double sided tape doesn't.

Give it time to dry once you've lined it up. Once it's dry, fold all the flaps both ways and burnish the creases with your bone folder. Then all you have to do it fold it like a box, top, left, bottom, and then tuck the right under the top flap. You'll have something that looks like this:

Here are the measurements for the flaps:
  • Designer paper: 2 x 2 1/2" (2)
  • White (optional) 1 7/8 x 2 5/8" (2)
  • Inside panel 4 x 5 1/4"
When you are adhering the layers to the flaps, keep the card closed so it will be easier for you to center them as best as you can. Of course, it will have to be open for the inside panel. That's it! You know, this would be a great card for someone who just moved with maybe a gift card inside to Home Depot or Ikea.

Hope you enjoyed today's tutorial. Now it's your turn to have fun with this one! Thanks for popping by, Crafters! See ya soon.

Tuesday, August 26, 2014

Diagonal Double Pocket Card Tutorial

Hiya, Crafters! Thanks for visiting. Today's make is a double pocket card. This is something that you can put multiple things in, like party information, birth announcements, or even bookmarks. I found the tutorial here. It is an easy make.

Here's what you'll need to make this card:
  • Patterned paper (recommended) cut to 8 1/2 x 11"
  • Paper trimmer
  • Ruler
  • Bone folder
  • Adhesive
  • Stamping tools to finish the card
Let's get started! Take your patterned paper score at 4 1/4" and fold it in half.


Then turn the paper 90 degrees and score it at 5 1/2". Also fold it in half.


Unfold the paper, and longways line it up at the 5 1/2" mark so that your score line is over the cutting mat on your trimmer. Then place your cutting blade at the intersecting lines and cut down. You'll have something that looks like this:

Decide which pattern you want to show most of and have that facing up. Take the corner of the bottom right and fold it back so that the edges line up with the score line. Use your bone folder to burnish the crease.

On the upper left corner you'll want to fold it over about an inch to 1 1/2" away from the score line. This is where you'll need your ruler.


After that you will fold the upper left portion over the right.

Next you'll fold the bottom left corner under the right panel.


Then fold the now bottom right corner up over the rest. I'm sorry, I forgot to take a picture it seems. Please forgive me. Here is where you'll want to tape the flaps shut. You will be able to tell where you'll want the tape and where you don't.
Alternatively, if you want to have a back flap that you can open like a card, instead of folding the bottom left corner under, fold that bottom panel up, then tuck the left under the right.

If you want measurements for book marks they are 2 1/2 x 5" for the front pocket and 2 (my preference) x 5" for the back pocket. I would not make them any longer than 5" if you wanted party inserts, or the like. Next, you just need to do something prettier than I did to the front panel to decorate. Then you're done.


I hope you enjoyed today's tutorial! Thanks for popping by, Crafters. I'll see you soon!

Monday, August 25, 2014

Peek-a-boo Trifold Card Tutorial

Hiya, Crafters! I hope everyone had a great weekend. I spent it watching the premier of Doctor Who! I enjoyed it tremendously. I will admit that when they transitioned from 10 to 11 I was resistant. But I really enjoyed 12 and I think Capaldi is a great Doctor so far! Oooo weee oooh! So today's make is a peek-a-boo trifold card.  You can watch the video tutorial here. It's a fun card to make!


Here's what you'll need to make this card:


  • Cardstock cut to 4 1/4" x 8 1/2" for your base.
  • Coordinating cardstock (I'll give measurements later)
  • Paper trimmer
  • Circle punch (Or die)
  • 3D foam stickers
  • Stamping and die cutting tools
Let's get started! Take your base cardstock and score at 1 1/2" and 5". 


Center your circle punch or die on the 1 1/2" score line. The video calls for 1 3/4" (If I remember correctly.) I only had dies, and the closest one I had to it was 2".


I decided to give the edge a finished look and used the scallop die from one of my sets. I needed to fold my card in half in order to pass it through my cuttlebug, which was perfectly fine.


Next we need to decorate the front panel. You can do anything you like here be it designer paper or embossed paper. Whatever you prefer. I chose DSP. And I cut it to 4 x 3 3/16". After that I punched out a flower using the Flower shop stamp set and coordinating pansy punch. Using my 3D foam stickers, I cut one of the larger ones in half and placed them on the bottom two petals. If you want to decorate the flap now would be as good as a time as any.


I eased it as close to the edge as I could so that the circle would  be filled with the flower when opened, but still had enough clearance to close easily over it without it being fiddly.


Then I stamped out a small banner from the Banner Blast stamp set and punched it out. Again, I cut a 3D foam in half and laid it as close to the inverted point of the flags as possible. Then I butted the sticker against the scalloped edge and folded it down to adhere to the panel. This is so that your card stays closed. You will have to fold it back a little to get the flap under it.

All that's left now is decorating. The panels measure to approximately 3 1/2 x 4 1/4". The middle inside panel does have half a circle cut out. You can either just place your cardstock over it, or cut half a circle out of the matted layer. Here's what mine looks like opened.

That's all there is to it! I hope you enjoyed today's tutorial. Now it's your turn. Thanks for popping by, Crafters! I'll see you soon!