Hiya, Crafters! Happy Friday!! My in-laws will be in town for about 5 days and I am so excited to see them. I think I might be more excited than my husband. I did go ahead and make a few cards in advance to post on here, but not much in the way of tutorials. Back to the post. Today I am going to show you how to make a joy fold card. I originally found the tutorial here. Are you ready to make this fun card and show off some of your pretty paper? (I know, it was hard for me to use some too, but I did!)

Here's what you'll need to make this card:
Let's get started! Take your base cardstock and line it up longways and score at 5 1/2". (If you don't have a scoring board, use your bone folder in the track your trimming blade uses on your trimmer.)Here's what you'll need to make this card:
- Cardstock cut to 4 1/4 x 8 1/2" for your base.
- Coordinating cardstock cut to 3 x 8"
- (2) pieces of designer paper (optional) cut to 2 3/4 x 3 3/4"
- Designer paper cut to 4 x 5 1/4"
- Designer paper cu to 2 3/4 x 4"
- Paper trimmer
- Permanent adhesive
- 3D foam stickers
- Bone folder
- Stamping tools to finish your card

Next we are going to score the 3 x 8" cardstock at 4".

Now we are going to adhere your 4 x 5 1/4" designer paper to the inside of the card base.

On the outside flap adhere your designer paper that was cut to 2 3/4 x 4".

Use your bone folder to burnish your creases. I love my bone folder. I even use it to smooth down cardstock that I taped to my paper. After this you'll want to stamp onto your two pieces of designer paper. You don't have to use your designer paper for this step, but I did.
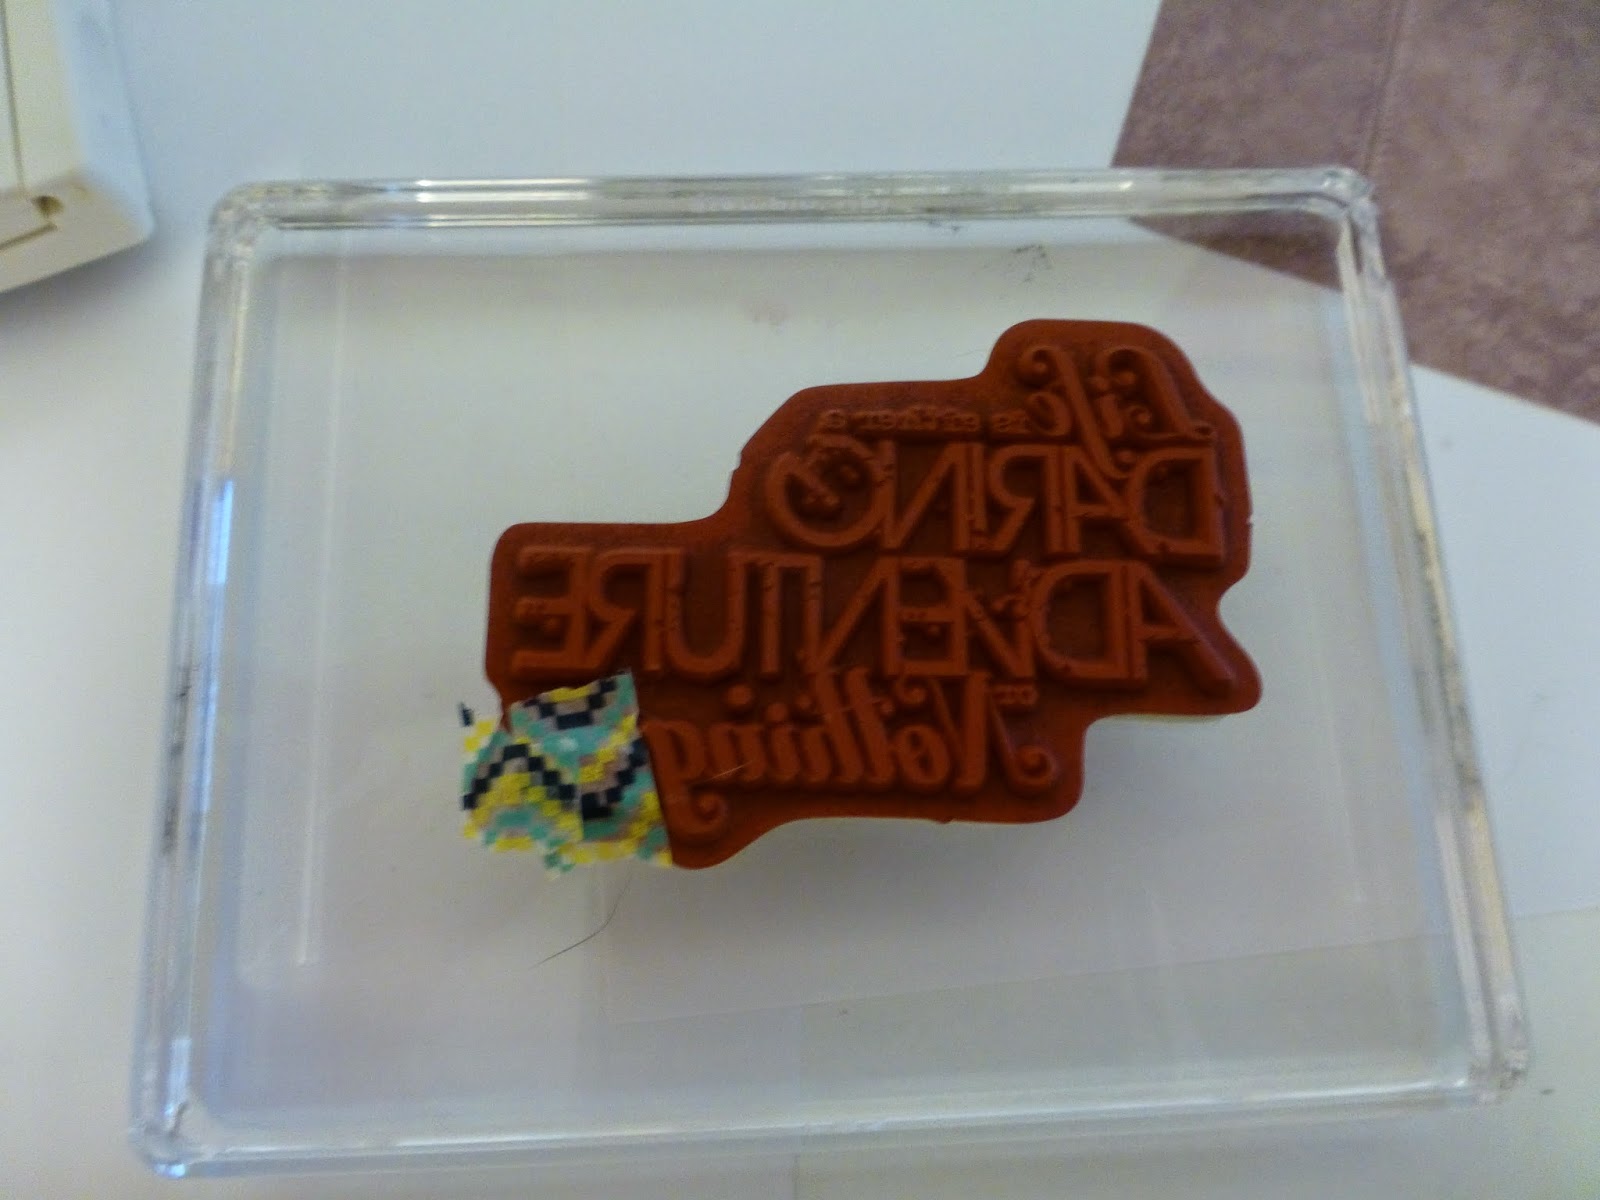
Are you ready for some bonus tips? I use Stampin' Up! a lot and my main complaint is the their cling stamps don't cling. At first I was licking my finger and wetting the back before I stuck my acrylic block to it, but that only worked about 40% of the time. How frustrating! Then a friend of mine told me she rubs the back of her stamp and the block against her yoga pants. It works with jeans too.

Nine times out of ten my stamps stays on the block. And to be doubly sure, I press against the stamp on the block; especially if I have a stamp that has a void in the middle, that way the middle is clinging to the block and not dropping enough to get ink on it, or get ink where there shouldn't be any. My cursing in the craft room has dramatically decreased.
My other tip is that the stamp I used gives credit to the quote. While I've nothing against that, I just didn't want it on my paper this time. So I covered that bit up with washi tape, regular tape will work fine too, and inked up my stamp. Then just remove the tape before you stamp your image.

OK, back to the card tutorial! Take your 3 x 8" card and burnish your 4" score line. Keep in mind while taping your paper to the flaps that the crease on this paper will be facing right, not left. When you have your inside and outside flaps decorated, adhere it to your inside paper. Don't forget the crease will be facing right.

You'll not be placing it in the middle either. I eyeballed it to be layered about 1/4" off of my designer paper. When you fold it, you'll have something that looks like this:

All that's left for you to do is get some kind of sentiment cut out to hold the flap down. You'll use your 3D foam stickers. I just made sure it covered the bottom corner. You will have to bend this back a little to slide the outside flap under it.

That's it! You've created a joy fold card! Way to go! You also got a bonus tip to get your cling stamps to actually cling to your acrylic blocks without using spit or tape to do it. How awesome! And then the tape tip before inking your stamps. You are rocking it out today!
I hope you enjoyed today's post. I had fun with it too. Now it's your turn. Go be fabulous and have a great weekend. I'm off to back dozens and dozens of cookies. Thanks for popping by, Crafters! See ya on Monday!
No comments:
Post a Comment